
Refrigerator Cabinet PU Foaming Defects: How to Diagnose Voids, Shrinkage and Uneven Filling
A foaming defect doesn't automatically mean the PU raw material is bad. Here's a systematic way to trace voids, soft spots, shrinkage and adhesion failures back to their real cause — machine, fixture, liner, or formulation.
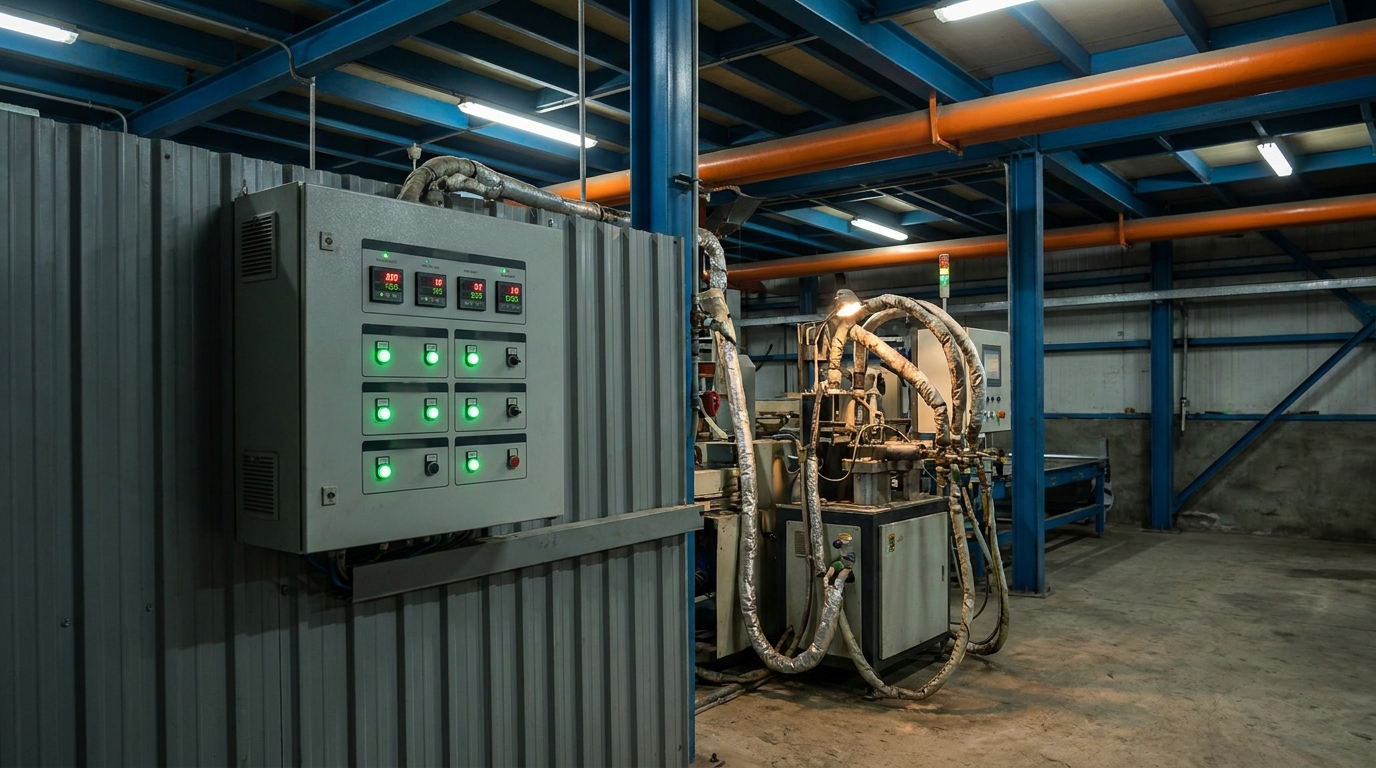
A foaming defect's location and pattern narrow the cause faster than guessing. Voids and unfilled corners usually trace to shot weight, injection position, material reactivity or mold temperature — not bad raw material. Wall bulging is usually a fixture clamping problem, not "too much foam." Liner deformation should be checked on the thermoforming side before the foaming side. Shrinkage after demoulding is most often insufficient cure time or a formulation outside its process window. When a defect appears on only one cabinet model out of several running the same machine and material, the cause is almost always geometry, injection point or fixture — not the PU system.
A refrigerator cabinet may look simple from the outside, but filling the entire wall cavity with uniform polyurethane foam is a tightly controlled process.
The liquid mixture must enter the cabinet, flow through narrow sections, expand around corners and structural components, bond to the inner liner and outer shell, and cure while the cabinet remains accurately clamped.
When any part of this process moves outside its normal operating window, the result may be a void, soft area, distorted liner, poor adhesion, excessive foam leakage, or inconsistent cabinet dimensions.
The important point is that a foaming defect does not automatically mean there is a problem with the PU raw material.
The real cause may come from the foaming machine, injection position, mold temperature, fixture pressure, cabinet design, material conditioning, shot weight, or curing process.
A systematic diagnosis can prevent a factory from repeatedly changing formulations while leaving the real problem unsolved.
Why Refrigerator Cabinet Foaming Is More Difficult Than It Looks
During cabinet production, rigid polyurethane foam is injected into the space between the thermoformed inner liner and the outer cabinet shell. The expanding foam must fill that cavity while the cabinet is held inside a foaming fixture.
The foam provides both thermal insulation and structural support. Our refrigerator insulation foam density and K-factor guide explains that density, cell structure and thermal conductivity are closely related to the final insulation performance.
This means a cabinet cannot be judged only by whether it "looks full."
A cabinet can contain foam everywhere and still have:
- Uneven density
- Poor cell structure
- Weak adhesion
- Localized shrinkage
- Excessive internal stress
- Thin low-density areas
- Distorted walls
- Poor thermal performance
For this reason, troubleshooting should start with the location and pattern of the defect, rather than immediately increasing the amount of material.
1. Foam Voids and Unfilled Corners
One of the most common problems is a visible or hidden void inside the cabinet wall.
Typical locations include:
- Upper corners
- Bottom corners
- Compressor-area walls
- Narrow channels
- Around reinforcement parts
- Areas farthest from the injection point
- Junctions between horizontal and vertical cavities
A void usually means that the reacting mixture could not reach a particular area before its flowability decreased.
Possible Causes
Insufficient Shot Weight
The most obvious cause is simply not enough material.
However, this should be confirmed rather than assumed.
If the missing foam always appears at the final flow area, increasing shot weight slightly may solve the problem.
But if a large amount of foam is already leaking from another location while one corner remains empty, the real problem is probably flow distribution rather than material quantity.
Incorrect Injection Position
PU foam does not expand uniformly in every direction.
The injection point should allow the reacting material to travel through the cabinet cavity before viscosity increases too much.
If the injection point is poorly positioned, one side of the cabinet may fill early while another side receives insufficient material.
For a new refrigerator model, injection location should therefore be validated during trial production rather than copied directly from another cabinet.
Material Reactivity Is Too Fast
If the mixture begins expanding too quickly, it may lose its ability to flow through long or narrow cavities.
Possible causes include:
- Material temperature outside the specified range
- Incorrect catalyst balance
- Raw-material formulation change
- Incorrect component ratio
- Long material storage
- Contamination
Cream time and gel time should be checked against the raw-material supplier's process specification.
Cabinet or Mold Temperature Is Too Low
Cold surfaces absorb heat from the reacting mixture.
This can reduce flow and make it more difficult for foam to reach remote areas.
Temperature should therefore be treated as a production parameter, not simply as a comfort setting for operators.
The correct mold and material temperature depends on the particular PU system and should follow the formulation supplier's recommended process window.
2. Localized Soft Areas or Low-Density Foam
Another common complaint is:
"The cabinet is completely filled, but one area feels softer than the rest."
This is different from a complete void.
The cavity may contain foam, but the foam structure or density is not uniform.
Possible Causes
Poor Mixing
Polyol and isocyanate must be accurately metered and thoroughly mixed.
If the mixing quality deteriorates, different areas of the shot may not react consistently.
Possible equipment-related causes include:
- Metering pump wear
- Pressure instability
- Restricted filters
- Partially blocked nozzles
- Incorrect component ratio
- Mixing-head contamination
- Material temperature differences
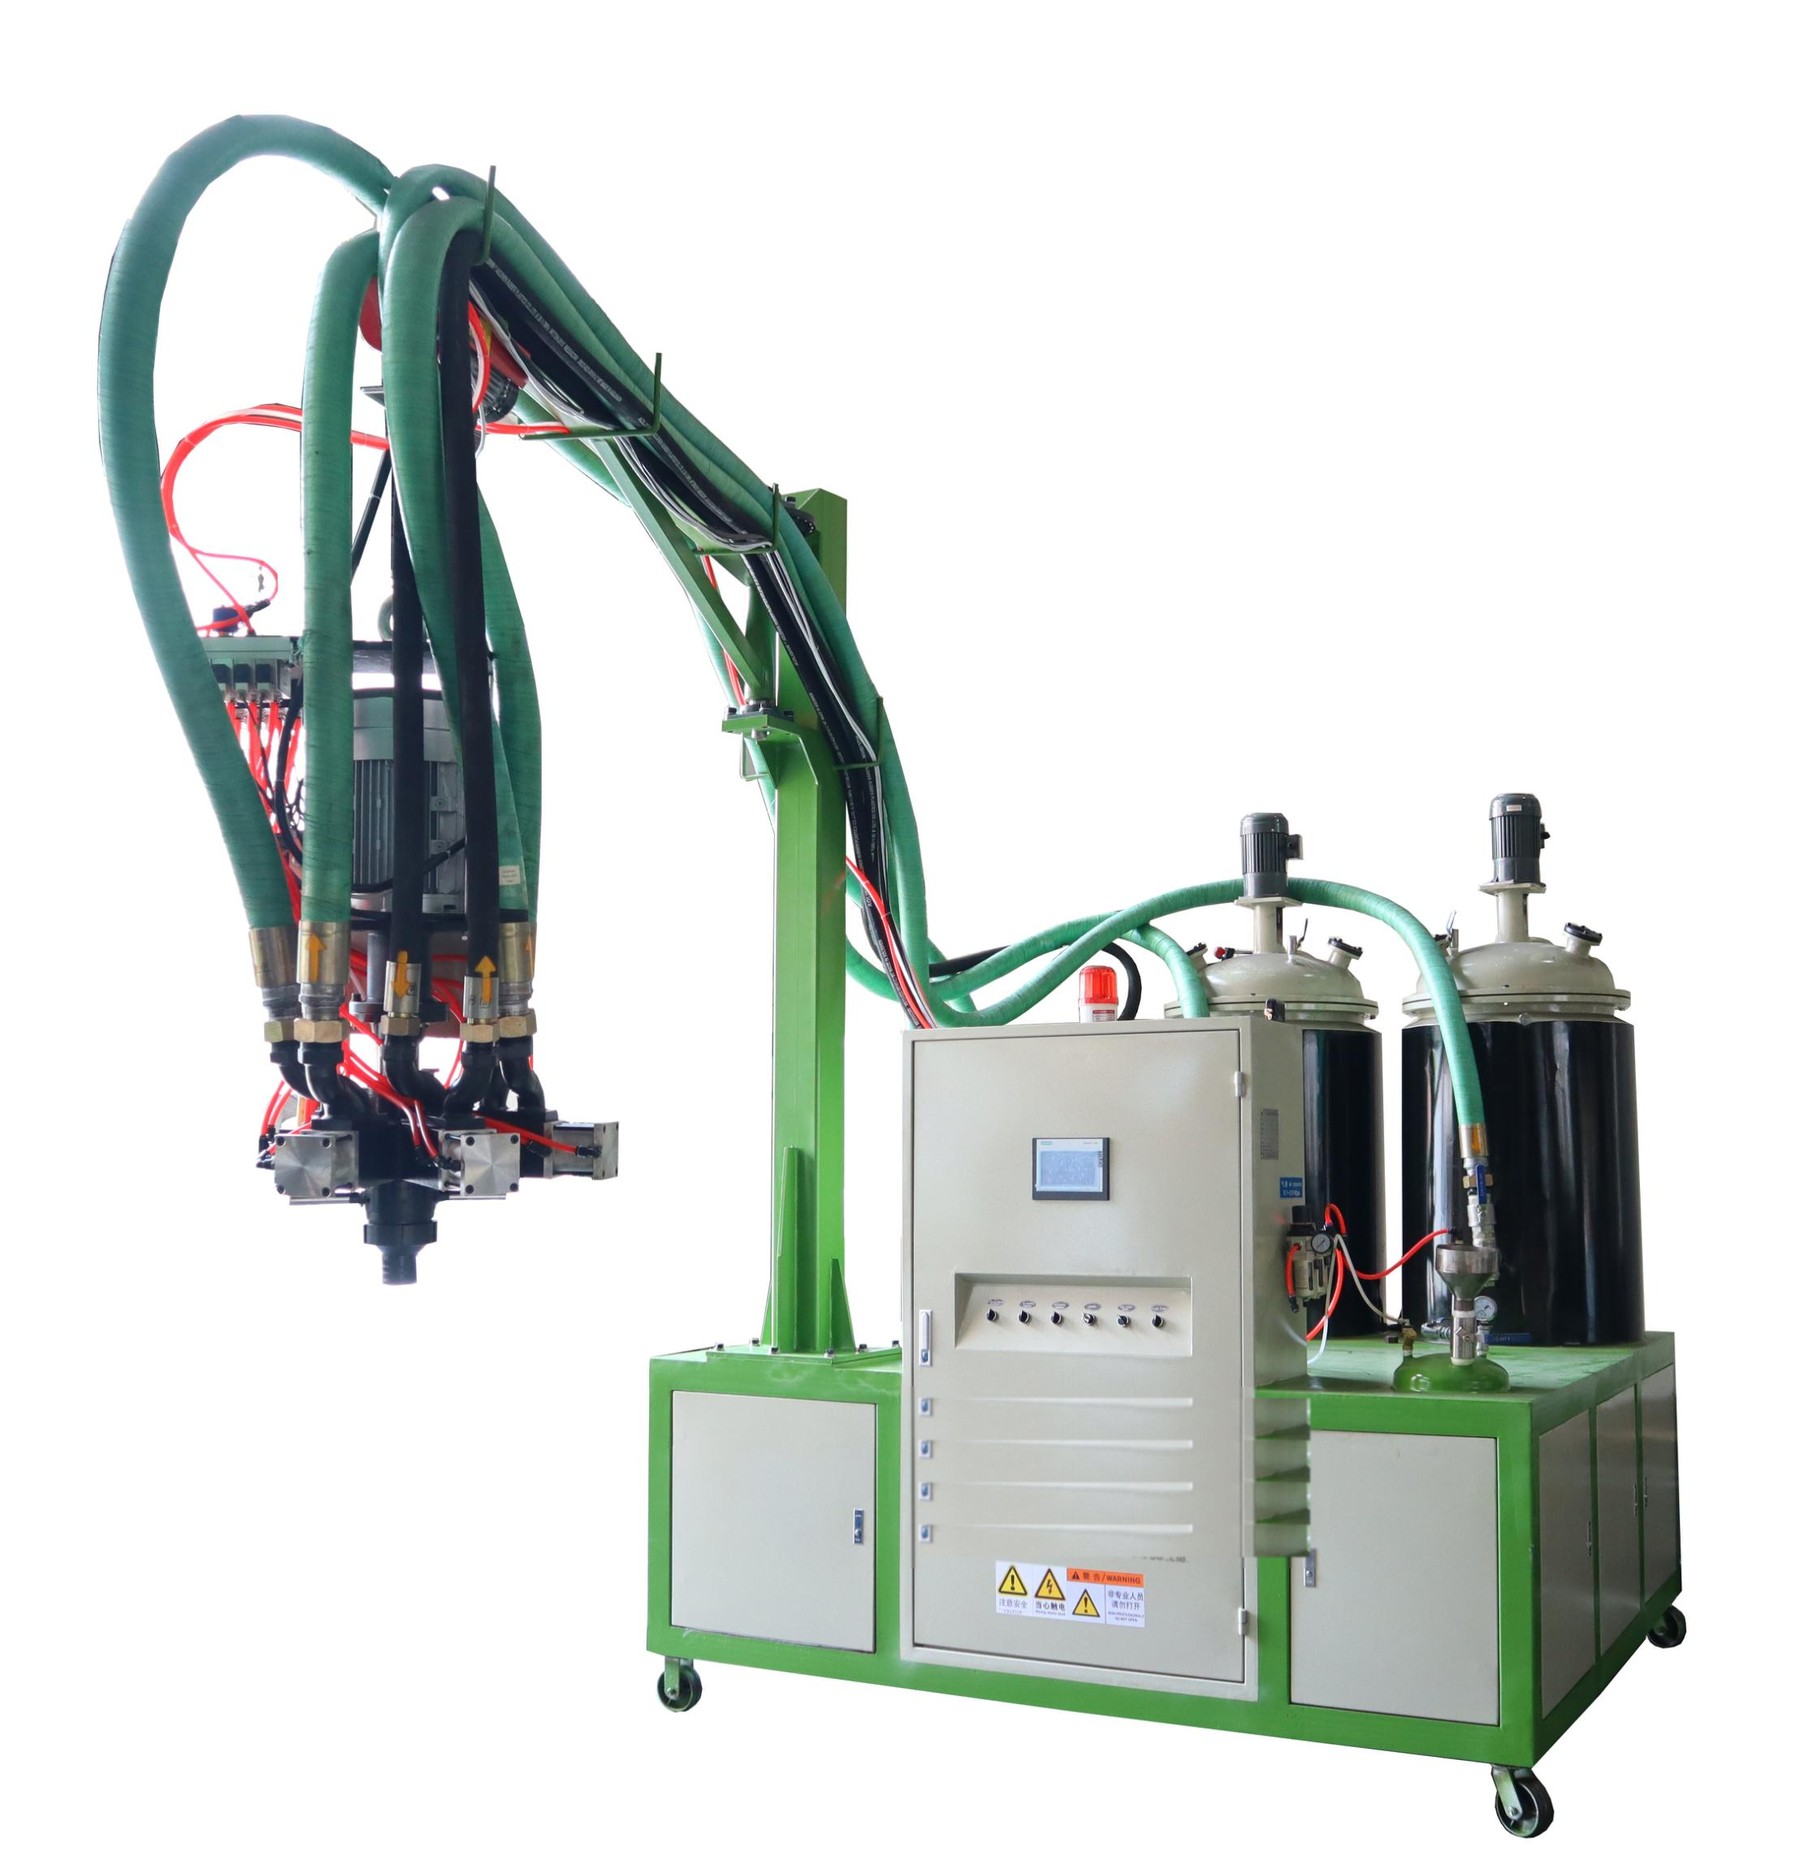
For high-volume refrigerator cabinet production, high-pressure machines are commonly used because the components are mixed through high-energy impingement rather than relying on a mechanical agitator.
Material Separation or Poor Conditioning
Polyol blends may contain catalysts, surfactants, blowing agents and other additives.
Depending on the formulation, inadequate circulation or conditioning before production can contribute to inconsistent results.
The material preparation system therefore matters almost as much as the metering unit itself.
Uneven Foam Flow
Density is not always identical throughout a complex cabinet.
Areas reached early and areas reached late can experience different expansion conditions.
A repeated low-density zone in exactly the same location usually suggests a process or geometry problem rather than random raw-material variation.
3. Cabinet Wall Bulging After Foaming
If the outer wall becomes convex or the cabinet loses its designed dimensions, do not immediately assume that the PU foam is "expanding too much."
First examine the fixture.
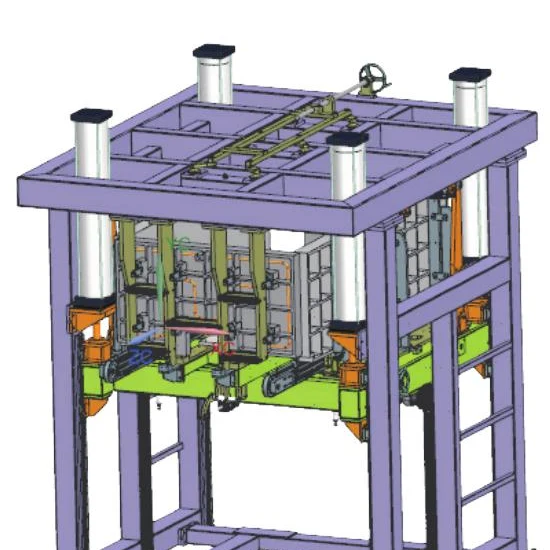
The foaming fixture has to restrain the cabinet while the polyurethane expands and cures. Our refrigerator foaming fixture guide notes that the cabinet remains clamped substantially longer than the actual injection period because the fixture must support the cabinet throughout foam expansion and curing.
Possible Causes
Insufficient Fixture Clamping
If the fixture does not support all critical surfaces, foam expansion can push the cabinet outward.
Check:
- Fixture closing position
- Clamping force
- Support blocks
- Cylinder operation
- Side-panel contact
- Fixture wear
- Cabinet positioning
Increasing hydraulic pressure is not always the solution.
If the contact surface is incorrectly designed, additional force may simply transfer deformation to another part of the cabinet.
Excessive Shot Weight
Too much material can increase internal pressure and force excess foam toward joints and openings.
Overfilling can cause:
- Wall bulging
- Foam leakage
- Fixture contamination
- Increased material consumption
- Difficult demolding
More foam is therefore not automatically safer.
The target should be the minimum stable shot that produces complete filling with sufficient process margin.
Opening the Fixture Too Early
A cabinet may appear stable when the fixture first opens but continue to deform afterward.
This usually indicates that the foam has not developed sufficient dimensional stability before demolding.
If reducing production cycle time causes cabinet deformation, the problem may not require a stronger fixture. The curing period may simply have become too short.
4. Inner Liner Deformation
Sometimes the outer cabinet remains acceptable while the ABS or HIPS inner liner develops:
- Waves
- Dents
- Local bulges
- Collapsed areas
- Distorted shelf rails
- Uneven corners
This should be investigated from both the thermoforming side and the foaming side.
Our refrigerator liner thermoforming guide highlights that the thermoformed liner must retain dimensional stability during the subsequent PU foaming process.
Check the Liner Before Checking the Foam
Ask first: was the liner dimensionally correct before entering the foaming station?
If not, changing the PU process will not solve the root problem.
Check:
- Liner wall-thickness distribution
- Thermoforming temperature
- Cooling time
- Sheet material
- Local thin areas
- Vacuum-forming mold condition
A liner that becomes extremely thin in one corner can deform even when the foaming process itself is stable.
Then Check the Foaming Fixture
The fixture must support the liner geometry during foam expansion.
A gap between the liner and internal support tooling allows the liner to move.
For new refrigerator models, this interaction should be checked during trial production using actual production liners rather than only CAD dimensions.
5. Foam Shrinkage After Demolding
Shrinkage is particularly frustrating because the cabinet may look acceptable when it leaves the mold.
Several minutes or hours later, a wall may begin pulling inward.
Typical symptoms include:
- Concave side panels
- Surface waviness
- Local depressions
- Cabinet dimensional change
- Separation between foam and skin
Shrinkage can have several causes.
Incorrect Foam Formulation or Reaction Balance
The internal cell structure must remain dimensionally stable after curing.
A formulation outside its intended processing window can produce foam that appears normal initially but contracts later.
Important factors may include:
- Component ratio
- Material temperature
- Blowing-agent balance
- Moisture contamination
- Catalyst balance
- Mixing quality
Before changing machine settings, verify that the material batch and operating conditions match the formulation supplier's specification.
Insufficient Curing Time
Production managers naturally want shorter cycles.
But the fastest possible demolding time is not necessarily the most stable production setting.
A reduction of only part of the curing period may improve theoretical hourly output while increasing downstream rejection.
For this reason, curing time should be evaluated together with:
- Cabinet size
- Foam thickness
- Material reactivity
- Mold temperature
- Ambient conditions
Excessive Density Variation
A cabinet should not contain highly different foam structures from one section to another.
Our foam density and K-factor guide discusses why foam density and cell structure matter to both mechanical and thermal performance.
If shrinkage always appears in the same section, cut samples from both the defective and normal areas and compare them.
This is more useful than relying only on the average foam density of the whole cabinet.
6. Poor Adhesion Between Foam and Cabinet Skin
The PU foam should bond effectively to the surfaces surrounding it.
Poor adhesion may appear as:
- Hollow sound when tapping the panel
- Skin separating from the foam
- Bubbles under the outer sheet
- Liner movement
- Local panel weakness
First Check Surface Condition
Possible problems include:
- Oil
- Dust
- Release agent contamination
- Condensation
- Protective-film residue
- Surface treatment inconsistency
Changing the foaming machine cannot solve a contaminated surface.
Check Surface Temperature
A surface that is too cold can affect both foam flow and adhesion.
This is especially important when:
- The workshop temperature changes significantly between seasons
- Metal cabinets are stored in an unheated area
- Production restarts after a long shutdown
- The first units of the morning fail more often than later units
A defect that disappears after the line has been running for an hour is a useful diagnostic clue.
Check Foam Contact Time
If the formulation reacts before it can properly wet the cabinet surface, adhesion can deteriorate in downstream flow areas.
Again, the defect location is important.
If adhesion is good near the injection point but weak at the far end, investigate flow and reactivity before changing surface treatment.
7. Excessive Foam Leakage
Foam coming out of every seam does not prove that the cabinet is well filled.
It often means the process is wasting material.
Possible Causes
- Excessive shot weight
- Poor cabinet sealing
- Fixture gaps
- Incorrect vent design
- Damaged liner
- Incorrect injection-hole sealing
- Poor assembly tolerance
Some venting is necessary because air inside the cavity must escape while foam enters.
But uncontrolled leakage can make shot-weight optimization difficult.
A good production process distinguishes between controlled venting and uncontrolled material loss.
If operators compensate for every leak by increasing the shot weight, material consumption can slowly increase without solving the underlying assembly problem.
8. Defects That Appear Only on Certain Refrigerator Models
This is one of the strongest clues available during troubleshooting.
Suppose five cabinet models use the same PU machine, the same raw material, the same production shift, and the same operators.
Four models are stable, but one repeatedly develops an unfilled upper corner.
In this situation, replacing the raw material is unlikely to be the first logical action.
The difference may instead be:
- Cabinet geometry
- Injection location
- Flow path
- Vent position
- Mold temperature distribution
- Internal reinforcement
- Fixture support
- Shot weight
- Wall thickness
Different refrigerator models should therefore have their own validated process recipes.
One universal setting for every cabinet size is rarely the best production strategy.
Quick Troubleshooting Table
| Defect | First Items to Check | Do Not Immediately Assume |
|---|---|---|
| Empty corner / void | Shot weight, injection point, flow path, temperature, reactivity | Raw material is bad |
| Soft foam area | Mixing ratio, pump stability, mixing head, material conditioning | More foam is required |
| Outer wall bulging | Fixture support, shot weight, cure time | Higher clamping pressure solves everything |
| Liner deformation | Thermoformed liner thickness, fixture support, foam pressure | PU formulation is the only cause |
| Post-demold shrinkage | Cure time, formulation, mixing ratio, local density | Mold dimensions are incorrect |
| Poor adhesion | Surface cleanliness, temperature, foam flow | Increase shot weight |
| Excessive leakage | Cabinet sealing, vents, shot weight, fixture closure | Leakage means complete filling |
| One model repeatedly fails | Cabinet geometry, recipe, injection point, fixture | Entire machine needs adjustment |
A Better Troubleshooting Sequence
When a refrigerator foaming defect appears, changing several parameters at once makes diagnosis more difficult.
A more useful approach is to work through the process in sequence.
Step 1: Record the Defect Location
Photograph and mark exactly where the problem occurs. Is it near the injection point? At the final flow position? Always on the same wall? Random? Limited to one refrigerator model?
The pattern already eliminates many possible causes.
Step 2: Check the Raw Materials
Confirm correct polyol, correct isocyanate, correct batch, storage condition, material temperature and the recommended processing window.
Do not alter the formulation yet. First confirm that the approved formulation is being processed correctly.
Step 3: Verify the Foaming Machine
Review A/B ratio, shot weight, flow rate, component pressures, material temperatures, pump condition, filter condition and mixing head performance.
A stable recipe entered into the PLC does not guarantee that the physical machine is delivering exactly the same result. Wear and blockage must also be considered.
Step 4: Check the Cabinet Before Foaming
Measure liner position, outer-shell dimensions, assembly gaps, injection hole and vent locations, and internal reinforcements.
A dimensional problem entering the foaming station often becomes a larger problem after foam expansion.
Step 5: Inspect the Foaming Fixture
Verify cabinet positioning, internal and external support, clamping action, heating system, mold temperature uniformity and mechanical wear.
The purpose of the fixture is not simply to "close around the refrigerator." It must hold the cabinet geometry consistently throughout the expansion and curing period.
Step 6: Cut the Defective Cabinet
This is one of the most useful diagnostic steps.
A rejected cabinet should not always go directly to scrap. Section it through the defect and look for the actual void shape, foam flow direction, cell structure, density differences, skin adhesion, local collapse and internal obstructions.
A cut section often reveals more than several hours of discussing machine parameters.
Do Not Change Five Parameters at the Same Time
This is a common production mistake.
A void appears, so operators increase shot weight, raise material temperature, increase mold temperature, move the injection gun, and extend cure time — all at once.
The next cabinet works. But nobody knows why.
When the problem returns three weeks later, the factory has no verified process knowledge.
A better method is: change one parameter → produce a controlled trial → inspect the result → record it → continue if necessary.
This takes slightly longer during troubleshooting but creates a process that can be repeated by different operators and different shifts.
Build a Recipe for Each Refrigerator Model
A production recipe should contain more than an A/B ratio.
For each cabinet model, consider recording: product code, polyol formulation, isocyanate type, material temperatures, component ratio, shot weight, flow rate, injection position, injection sequence, mold/fixture temperature, cure time, vent configuration, approved foam density and quality inspection results.
This is particularly important for factories producing multiple refrigerator and freezer models on the same line.
The purpose of automation is not only to move cabinets faster. It is also to make the process repeatable.
When Is the Foaming Machine Actually the Problem?
Not every defect originates from the equipment.
But machine inspection should become a priority when several unrelated cabinet models begin showing the same problem at approximately the same time.
Ratio Drift. If pump wear, calibration problems or pressure instability change the effective component ratio, foam properties can shift across the entire production line.
Unstable Output. A machine that cannot repeatedly deliver the specified shot weight can create both underfilled and overfilled cabinets.
Mixing-Head Problems. Blocked or worn mixing components can reduce mixing quality even when the displayed machine parameters appear normal.
Temperature-Control Instability. Different material temperatures change viscosity and reaction behavior, which can affect metering, mixing and flow.
Production Capacity Beyond Machine Capability. A machine should be sized for the required shot weight, output and production cycle. High-pressure and low-pressure systems have different mixing methods and suitable production ranges, so machine selection should be based on the actual cabinet and production target rather than simply choosing the least expensive unit.
Equipment and Process Must Be Evaluated Together
A successful refrigerator cabinet foaming process depends on several systems working together:
Raw material → material conditioning → PU foaming machine → mixing head → cabinet → foaming mold/fixture → curing → demolding → quality inspection
Improving only one link cannot compensate indefinitely for problems elsewhere.
A highly accurate foaming machine cannot compensate for a fixture that allows the cabinet wall to move. A stronger fixture cannot compensate for an incorrect material ratio. Additional shot weight cannot permanently compensate for a poor flow path. Longer cure time cannot correct an incorrectly thermoformed liner.
This is why a new refrigerator foaming project should be designed from the finished cabinet backward rather than selecting individual pieces of equipment independently.
What Information Should You Prepare When Asking for Technical Support?
If you are experiencing cabinet foaming defects, sending only a photo of the finished refrigerator is usually not enough.
Prepare the following information: refrigerator model, cabinet dimensions, foam wall thickness, defect photos, exact defect location, inner liner material, polyol technical data, isocyanate technical data, mixing ratio, shot weight, material temperature, mold temperature, cream and gel time, injection position, injection time, cure time, PU machine model, fixture photos or drawings, production capacity, and whether the problem affects every model or only one model.
Video is particularly useful. A short recording of the injection, fixture closing/opening and defective cabinet often reveals information that a parameter sheet does not.
Final Thoughts
Refrigerator PU foaming defects should be diagnosed as a complete process problem, not automatically as a raw-material problem or machine problem.
Start with the defect itself. Determine where it appears, when it appears, and which products are affected.
Then work backward through: foam condition → flow path → cabinet geometry → fixture → injection → metering → material preparation.
For an occasional void on one refrigerator model, changing the entire PU system may be unnecessary. For repeated defects across multiple models, however, metering accuracy, mixing performance, temperature stability and fixture condition should be investigated systematically.
The goal is not simply to produce one acceptable cabinet after adjusting the machine. The goal is to establish a stable process window that can produce the same cabinet quality repeatedly across every shift.
UREXCEED supplies polyurethane foaming equipment, refrigerator foaming molds and fixtures, thermoforming equipment and complete refrigeration production-line solutions. If you are planning a new refrigerator or freezer production line — or troubleshooting an existing foaming process — send us your cabinet drawing, required capacity, current PU system and defect information for an initial engineering assessment.
Products Mentioned in This Article
Ready to plan your refrigeration project?
Share your target output and product mix — our engineering team replies with a capacity plan and quote within three business days.
Get an engineering quoteRelated articles
Cold Room Panel Manufacturers in the UAE: Why "Civil Defence Approved" Is Not One Question
In the UAE, a panel's paperwork has to satisfy a federal code, a product certification scheme, and an emirate-level listing — and Abu Dhabi has just formalised 54 local amendments of its own. A brochure line reading "Civil Defence approved" answers none of those three. Here is what to ask instead, why a European supplier's fire pack is the wrong currency here, and what a 45°C ambient does to the thickness you thought you needed.
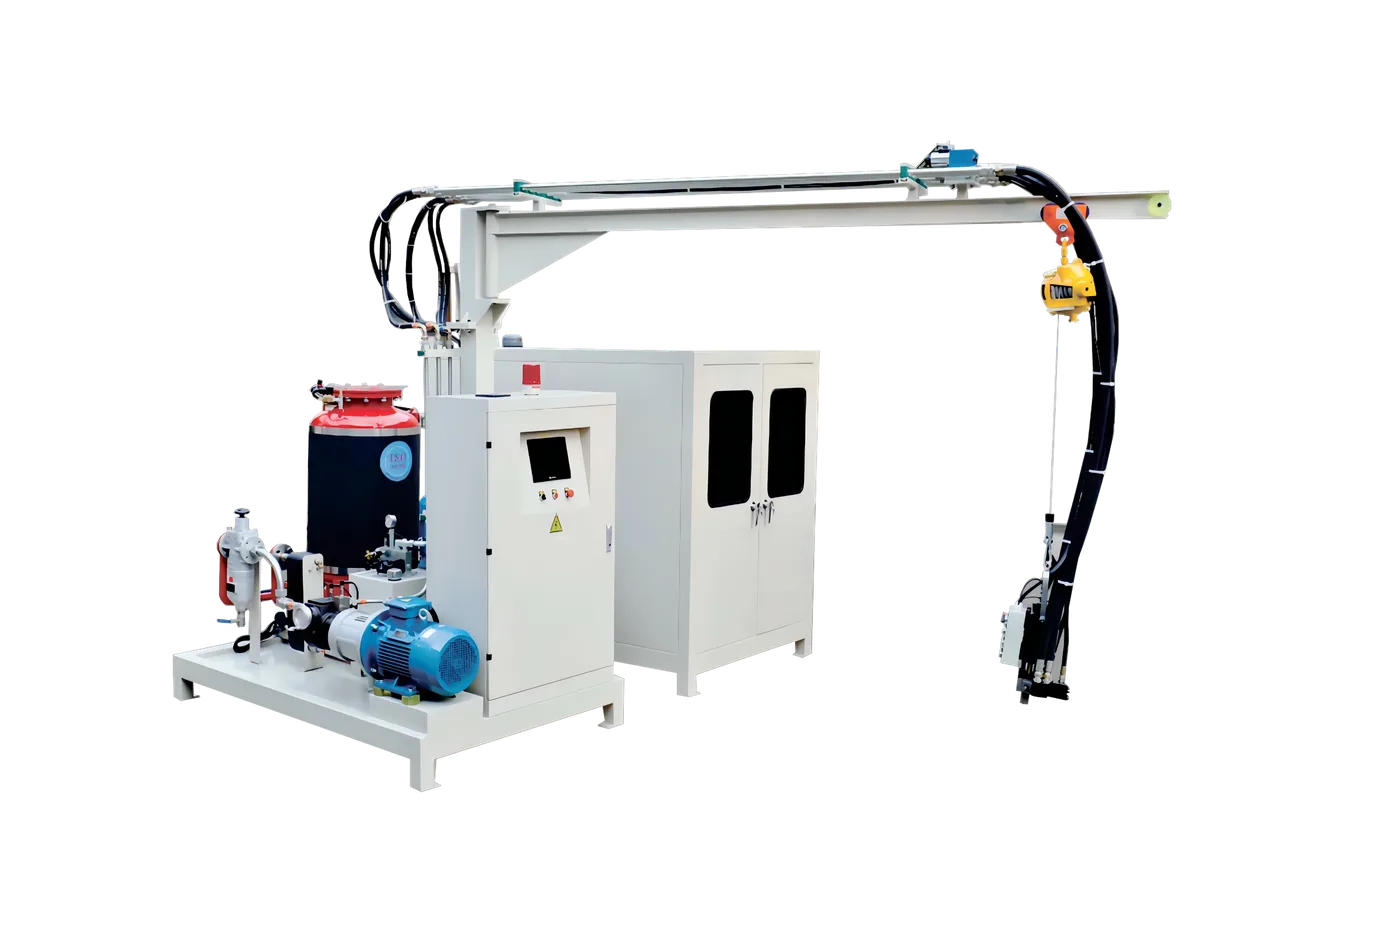
Converting a Refrigerator Foaming Line to Cyclopentane: Retrofit vs New Machine, Cost and Timeline
Switching from HFC-245fa to cyclopentane is an equipment and safety-infrastructure project, not a raw-material swap. Here's how to decide between retrofitting an existing foaming machine and buying a new cyclopentane-ready one, what the safety infrastructure actually costs, and a realistic project timeline.
Freezer Mould Selection Guide: Chest vs Upright vs Display Cabinet
A freezer mould is not one product — chest (horizontal), upright and display (island / glass-door) freezers each need a different mould geometry, clamping load and cure schedule. This guide picks the right freezer mould family by cabinet size, volume and operating temperature.